Getting started
To get you started, let us guide you through the first steps of creating a bot. You will have a bot up and running in five minutes.
Create a new project
After you have logged in to your account, the home page allows you to create a new project or select an existing project.
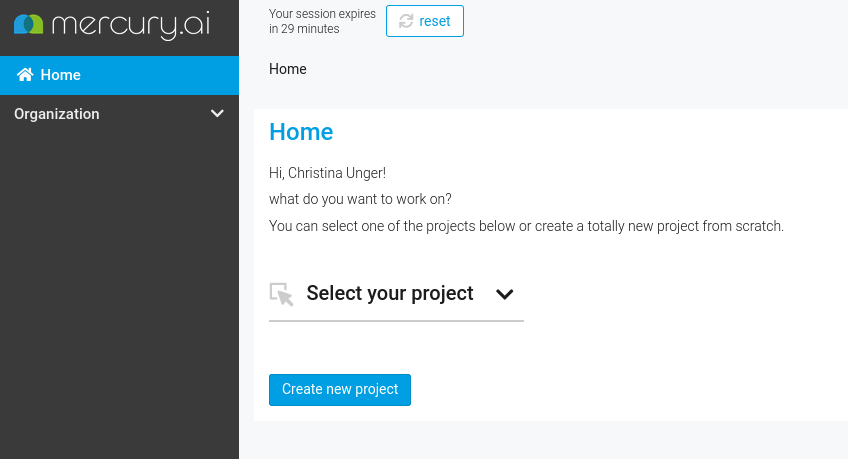
Note that all your bots will belong to a certain project. This particular organization has the advantage that you can have different bots clearly separated by their project affiliation.
After you have clicked on the "Create new project" button, a pop up opens and asks you to provide a name and a description for your project. Clicking on Save creates the project. Now we're ready for the second step.
If you want to learn more about managing your bot projects, read Managing Bot Projects.
Create a new bot
After you have created a project, you land on the settings page of your project. In order to create a bot, you have to navigate to Creator in the menu.
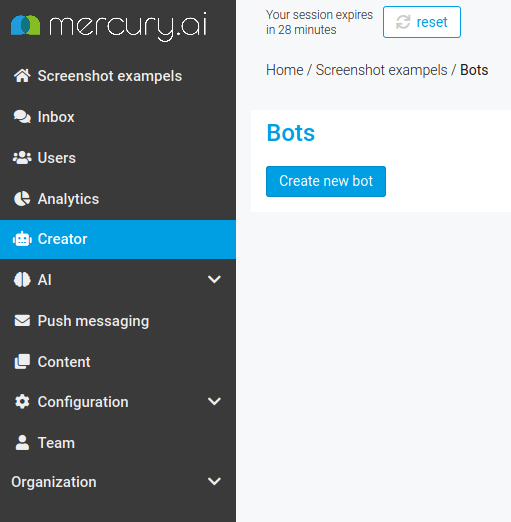
You will be asked to provide a name and a description for your bot. Confirm your changes by clicking on Save. Now your bot is ready to being set up.
Create and edit a Generic Game
Games are the key components of your bot's dialog capabilities.
When you create a new bot, it contains a few standard games already, that include "Opt-in", "Legal and privacy", and "Recovery".
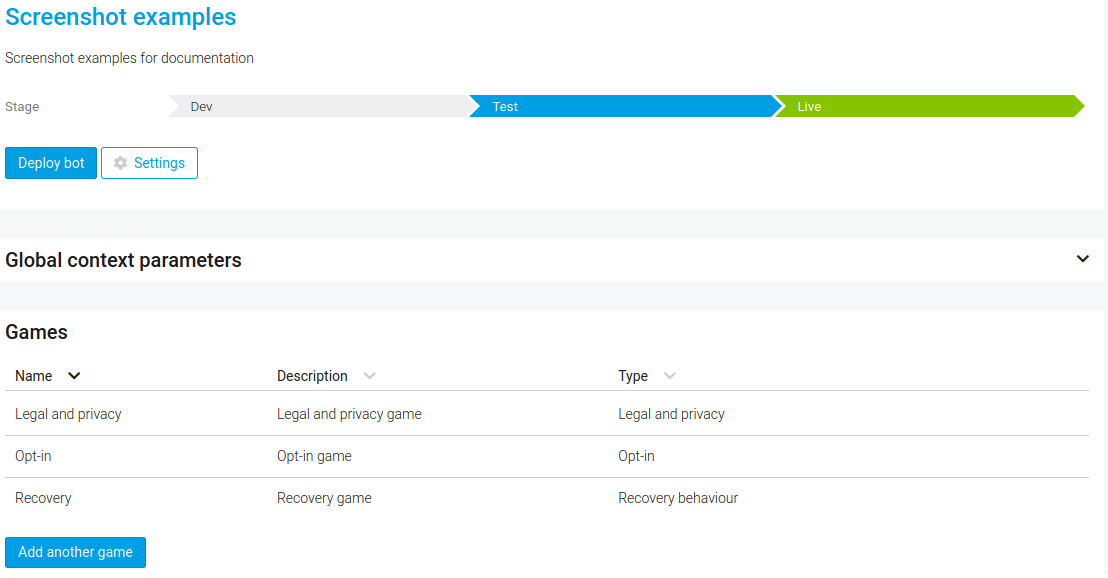
We start with a standard conversational template, a Generic Game. Just click on Add another game, pick Generic Game, choose a name and description, and click on Select and configure. You will be forwarded to the game page, which is still empty.
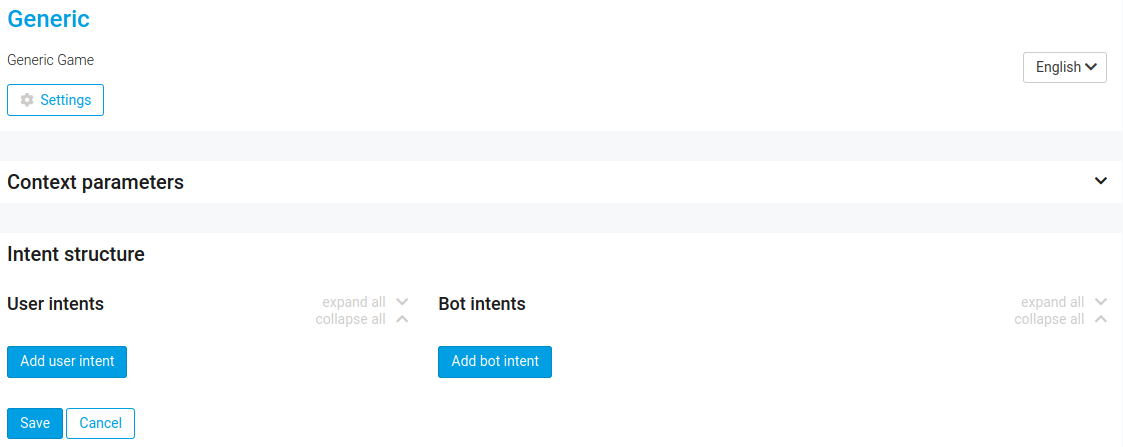
In order to teach your bot to respond to greetings, we need to do three things: create a User Intent, create a corresponding Bot Intent, and connect them.
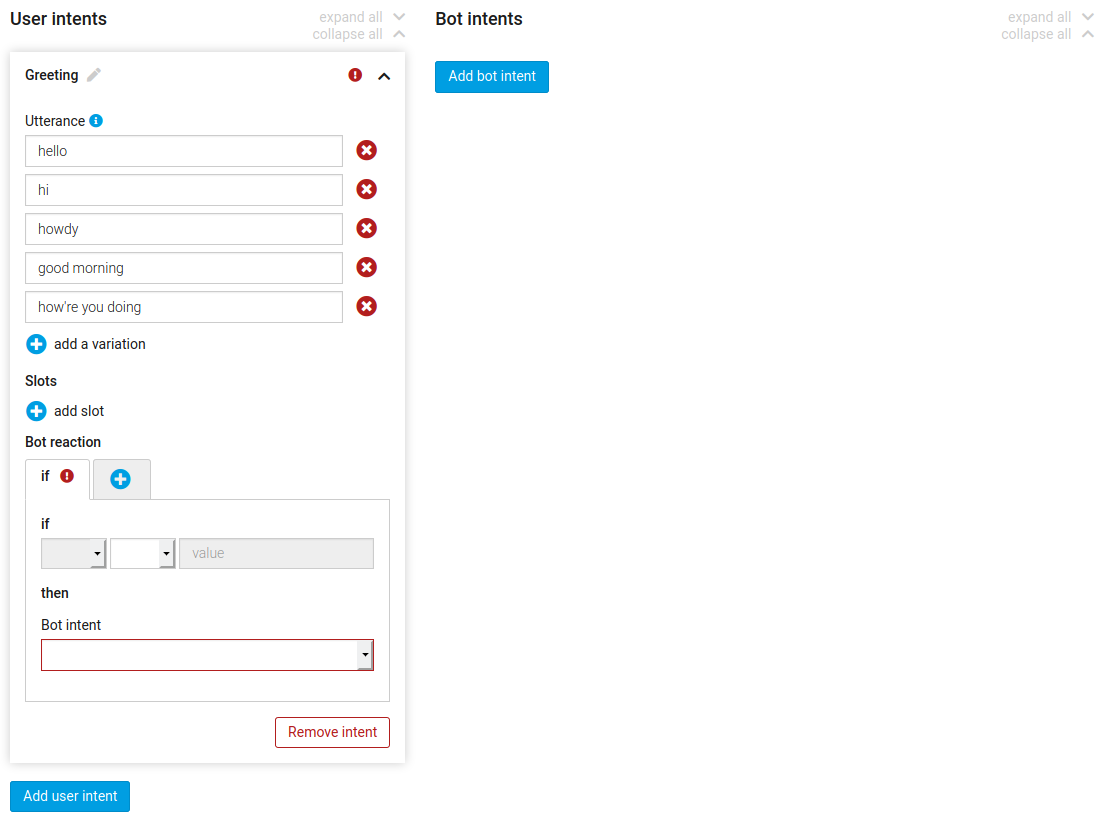
When you pick Add user intent, a configurator for the user intent will be opened. The intent label field is mandatory; let's call it Greeting. Next, enter some example utterances that users may use to express this intent. Since we are implementing a greeting intent, possible user utterances could be "hello", "hi", "howdy", "good morning", "how're you doing", and so on.
Next, we specify the bot intent that we will use as reaction to the user's greeting. Clicking on Add bot intent opens a configurator for the bot intent. You have to set a label, let's say Greet. The main part then is the message builder under Bot messages. This part allows you to specify the messages your bot sends to the user. For the purpose of our first interaction between user and bot, it is sufficient to work with a Text template. Click on Text on the left hand side and set your bot message by clicking in the text field on the right, entering a message there, for example "Hello! Nice to meet you.".
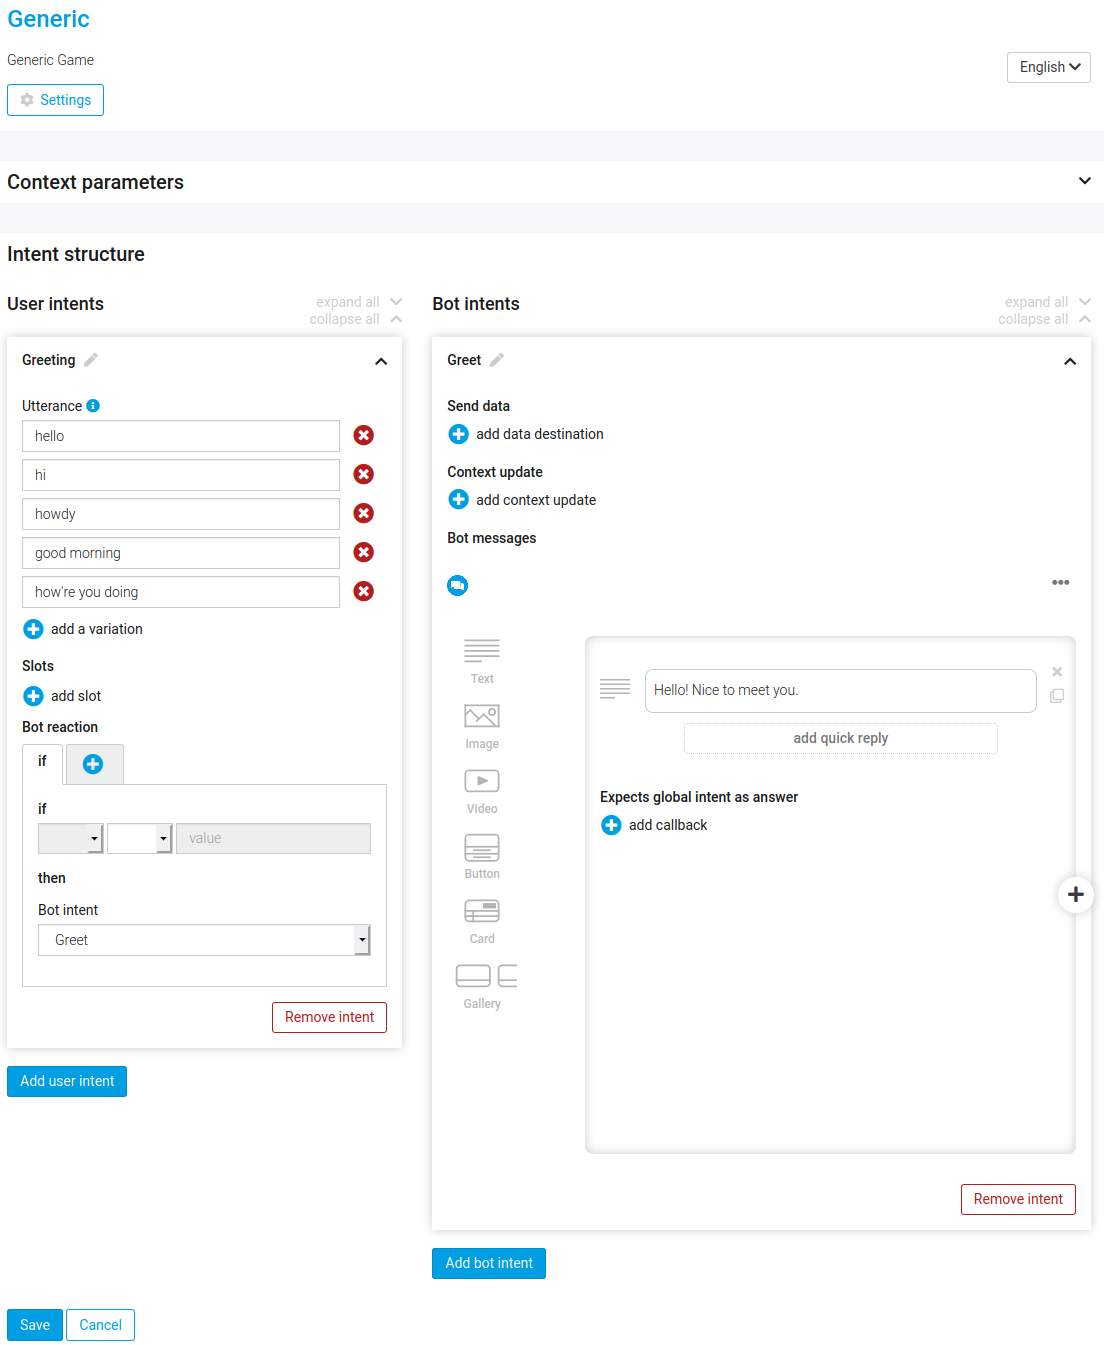
Now that you’ve created both a user intent and a bot intent, you have to connect both. The user intent configurator contains a section Bot reaction, which defines the bot's reaction to that user intent. From the dropdown, select your bot intent - in this case Greet.
As last step, you need to Save your changes and your is ready for its first conversation! Whenever someone says "hello" or "hi" or the like, the bot will react with "Hello! Nice to meet you.".
Deploy the bot
In order to be able to talk to your bot, you now need to deploy it, by clicking on the Deploy bot button on the landing page of the Creator. For now, pick Dev > A as stage. (The section Managing Bot Projects contains more information about stages and the staging, test, and live environments of your bot.)

In the side bar on the right hand side, you will see the progress of the deployment. Once it's finished, your bot is alive!

Test your bot via quick chat
The next step would be to connect your bot to some channel, such as Facebook Messenger or a web chat widget. But let's skip this for now; the easiest way to talk to your bot is via the Quick Chat bar in the sidebar. Select the stage that your bot is running on (Dev > A if you deployed it there), and then enter a user text.
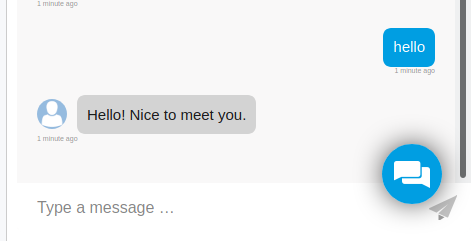
The first reaction of the bot will actually be an opt-in message, as it makes sure to be GDPR compliant. You can later configure that message as well as whether your channel should trigger an opt-in or not. After accepting, you can say "Hi!" and the bot will reply to your greeting.
Next steps
Of course, the conversations your bot can have are quite limited. If you want to learn more about how to build more complex conversational behavior, move on to the Key Concepts section, where we explain in more detail how Mercury.ai bots work.